Verifying In-App Purchases using Azure Functions
Trust, but verify
Both Google and Apple provide APIs that allow developers to validate in-app purchase (IAP) receipts to help prevent unauthorised use of your digital goods. Recently I added some IAPs into my Xamarin application using James Montemagno’s InAppBillingPlugin. Following James’ IAP documentation you’ll get to the section titled ‘Securing Purchases’ and linked to two fantastic posts by Jonathan Peppers,
- Securing In-App Purchases for Xamarin with Azure Functions
- Securing Google Play In-App Purchases for Xamarin with Azure Functions
The code in these posts is now more than three years old, and while the APIs haven’t changed much, the lack of support for subscription IAPs provided me enough motivation to write an updated version.
This post will primarily be a tutorial on how to setup my IAP verification Azure Functions found on GitHub.
There are two functions to validate purchases, one for Google and another for Apple. Each accepts a POST request of type Receipt.
public class Receipt
{
    public string BundleId { get; set; }
    public string ProductId { get; set; }
    public string TransactionId { get; set; }
    public string DeveloperPayload { get; set; }
    public string Token { get; set; }
}
- BundleId
- Your app’s bundle identifier
- ProductId
- The unique ID for your IAP
- TransactionId
- The unique ID for this transaction (
OrderIdfor Google)
- The unique ID for this transaction (
- DeveloperPayload
- Only relevant to Google, a string passed when purchasing used to validate the receipt
- Token
- The purchase token for Google, or a signed base64 string for Apple
Both functions will return a ValidatedRecipt if the receipt was successfully validated, or a HTTP BadRequest.
public class ValidatedReceipt
{
    public string BundleId { get; set; }
    public string ProductId { get; set; }

    public string TransactionId { get; set; }
    public string OriginalTransactionId { get; set; }

    public DateTime PurchaseDateUtc { get; set; }
    public DateTime? ExpiryUtc { get; set; }

    public DateTime ServerUtc { get; set; }
    public bool IsExpired { get; set; }

    public string DeveloperPayload { get; set; }
    public string Token { get; set; }
}
- BundleId
- Your app’s bundle identifier
- ProductId
- The unique ID for your IAP
- TransactionId
- The unique ID for this transaction (
OrderIdfor Google)
- The unique ID for this transaction (
- OriginalTransactionId
- The original ID for this transaction (this will be equal to TransactionId, except in the case of Apple auto-renewing subscriptions)
- PurchaseDateUtc
- The original date of purchase
- ExpiryUtc
- The date when this IAP expires (i.e. the end date of the subscription)
- ServerUtc
- Server’s current UTC timestamp
- IsExpired
- True if the server considers this IAP to be expired (i.e. expired subscription), false otherwise
- DeveloperPayload
- Only relevant to Google, a string passed when purchasing used to validate the receipt
- Token
- The purchase token for Google, or a signed base64 string for Apple
Apple
To validate our receipts with Apple’s servers will need to call either,
Apple’s docs suggest calling production and falling back to sandbox.
To authenticate requests you need to add the appropriate app settings for your AppSecret, which can be generated via AppStore Connect. You may use a master secret, which can be used to validate receipts from any of your apps; or an app-specific secret, which can only validate receipts from a single app.
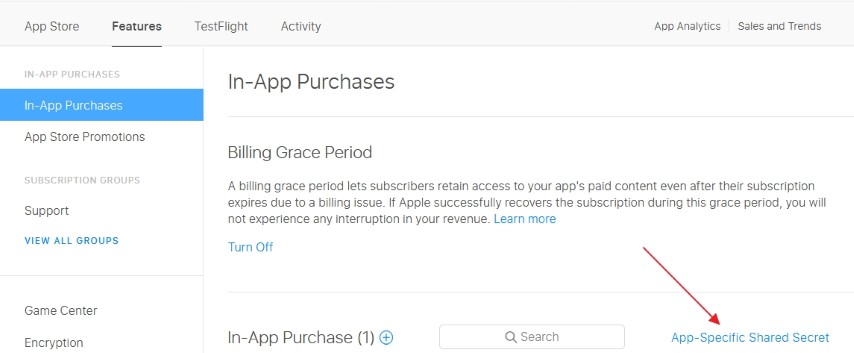
The Apple validation function will first check for an app-specific secret in the format of AppleSecret.{BundleId}, before falling back to a master secret AppleSecret.
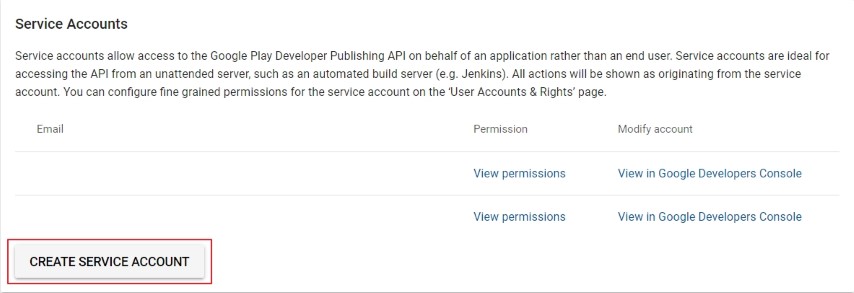
The NuGet package Google.Apis.AndroidPublisher.v3 is used to validate receipts with Google. To authenticate requests you’ll need to create a Service Account with the View financial data permission in Google Play.
- Go to the Google API Access page within Google Play Console
- Under Service Accounts, click Create Service Account, then navigate to the Google API Console
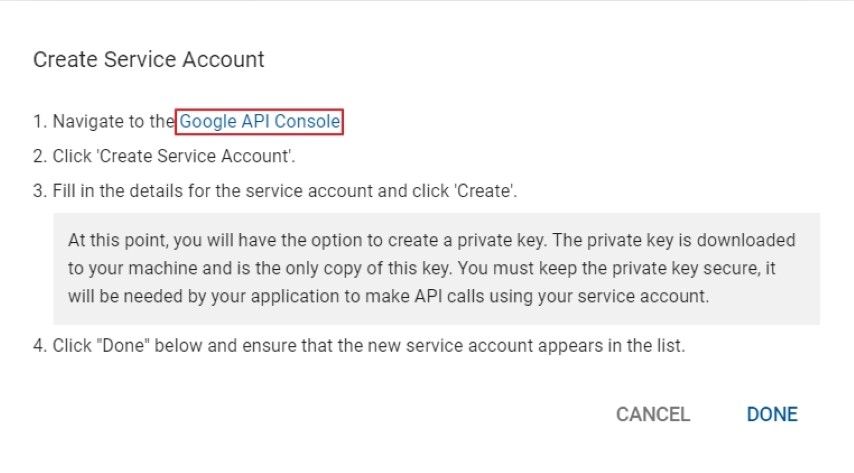
- Create a new Service Account
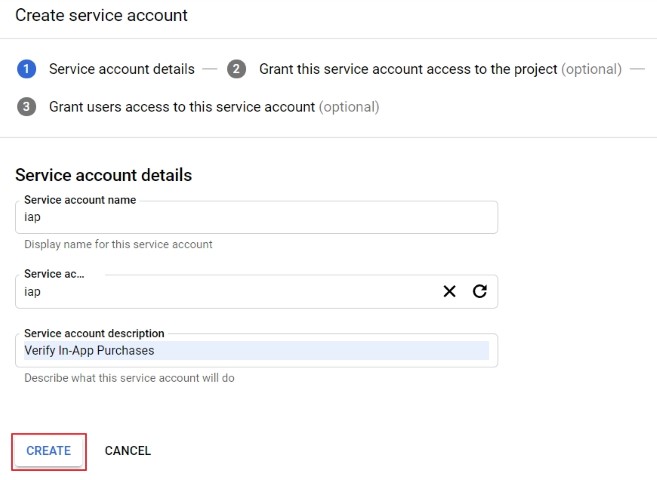
- Grant the role of Viewer

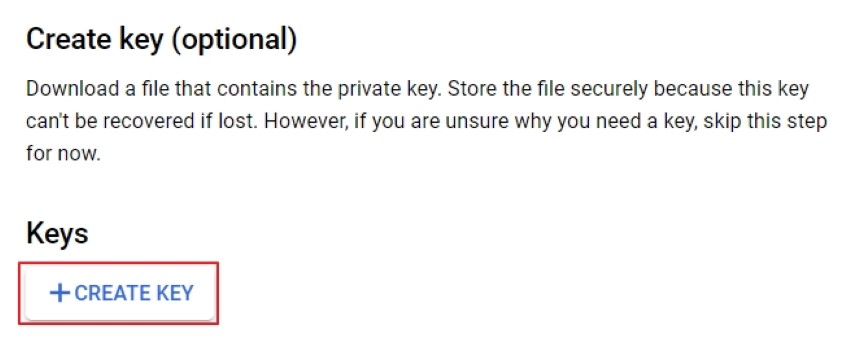
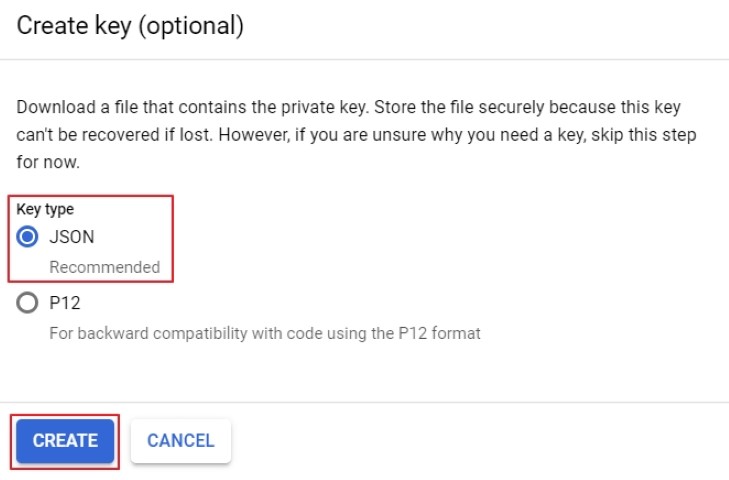
- Create an API key, and download the JSON file
- Back in Google Play, click Grant Access for the Service Account you just created

- Check the boxes for View app information and View financial data

Now that the Service Account has been created and granted permission, open the previously downloaded JSON file. Copy the client_email and add it to the app settings under GoogleAccount, do the same for private_key adding it under GoogleKey.
NB: You will most likely get the below error when calling the Purchases API. Unfortunately there is nothing to do but wait, sometimes up to 48 hours after creating the Service Account!
The current user has insufficient permissions to perform the requested operation.